Wednesday, we wrote about what happens when a newly-minted hiker fully embraces the sport: he or she needs to upgrade equipment. The same is true, perhaps even more so, with backpacking. Because of the more substantial investment involved with backpacking, odds are you went on the frugal side with most of your gear. Thus, you got good, functional gear, if a bit heavy. And not quite as sturdy. Perhaps not as comfortable, either.
Today, we address a few upgrades to consider.
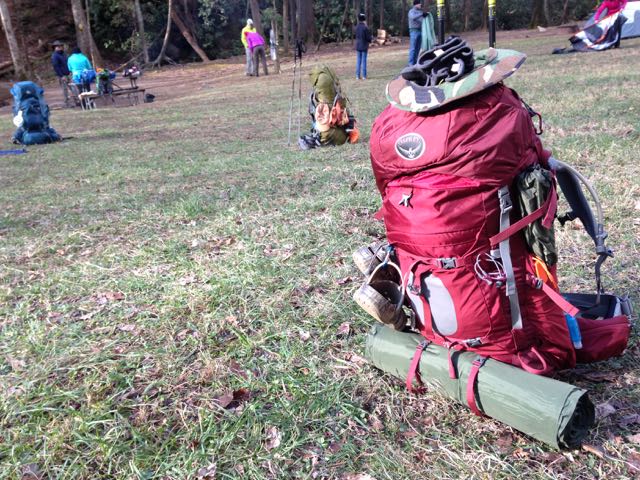
Backpack. About half the folks who take our GetBackpacking! Intro to Backpacking class either use one off our loaner packs or borrow a pack from a pal. Thus, it likely isn’t the pack for you, and that can have a huge influence on your backcountry experience. Rule #1 in buying a backpack: Make sure it is properly fitted. This is where store-bought far outweighs buying online. Come into the store and we will take the crucial measurements to, one, make sure you get the right-size pack for your torso, and two, make sure the pack is properly tweaked for optimum fit and weight-bearing. And by the latter we mean that the bulk of your pack weight is born by your hips. Rule #2: make sure the pack’s pockets and compartments conform to your travel needs. One good thing about borrowing a pack is that you get to see what works and what doesn’t. Some packs only load from the top, some from the sides and back as well. Some have lots of outside pockets, others encourage packing within the main pack. Do you like a separate sleeping bag compartment at the bottom (I do)? Are pockets on the hip belt important to you (they should be: it’s a pain on the trail to have to dismount just to fish a bar out of your hood). Oh, and the hood! We love those that have a separate zippered compartment for your wallet and car keys (with a clip to secure the latter). And size. How much room do you need to accommodate your stuff?
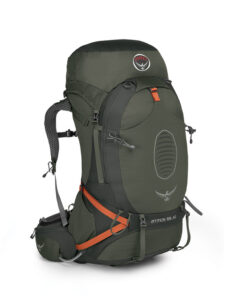
On this one bit of equipment we’re going to make a specific recommendation: the Osprey Anti-Gravity line. Quick story: On one of our GetBackpacking! graduation trips this year, the steep climbs of South Mountains State Park proved a bit much for one backpacker, so I offered to carry her pack. It turned out to be an Anti-Gravity, in my size. I was stunned by the fit, by the weight distribution, by the fact the bag and I were one (and the two of us hadn’t even been properly fitted!) Two sessions later, I was sporting the Atmos AG 65. Try this pack, get it weighted, walk around the store for a while. Check it out here.
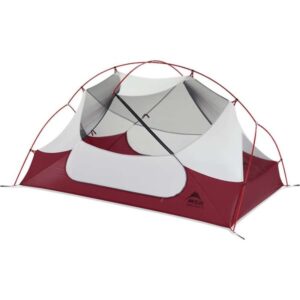
Tent. If you borrowed a tent, odds are you borrowed a honker. That is, a tent that weighed about twice what you should expect to tote. If it was more than five years old, it likely was bulky as well. First, of course, determine whether you need a one- or two-person tent. (If you go the loner route, make sure it has a vestibule to store your wet boots and other gear.) Check the tents that are set up, crawl inside. Does it have good access? How are the interior pockets? Are they adequate to store your glasses, electronics, journal, etc.? Check the rain fly: does it have adequate ventilation? In this part of the country you camp more with the fly on than off, even in summer. Minimal airflow guarantees a sweaty, sleepless night on summer trips. How does the tent pack down? For years, most of us strapped our tents to the outsides of our packs, mainly because the bulky things took up so much room on the inside. Thinner, sturdier materials and poles that break down into smaller sections mean a good modern tent can fit unobtrusively inside your pack. Examine how the tent is constructed. Does it look like it erects quickly? A big selling point if rain looms or you have a tendency to pull into camp after dark. Finally, is it cozy? This is, after all, your home away from home.
For a suggestion, go here.
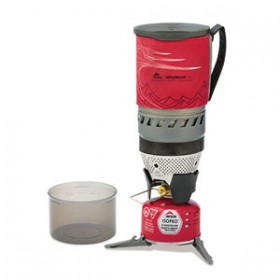
Stove. One of my favorite aspects of our GetBackpacking! Intro to Backpacking course is Session 3: Cooking. Here, we get to examine the various ways backpackers cook, from the all-I-need-is-hot-water crowd, to the folks who need extra burners to keep the bernaise warm while they sear the tournedos. By and large, though, folks gravitate to canister stoves, which come in two generals varieties. Canisters tend to be preferred over liquid fuel stoves because they are easier to use — you simply screw the stove into the canister — and there’s no worry of fuel leakage. Type 1: the Pocket Rocket. This is the MSR entry in the field; there are others. These stoves take up a minimal amount of space (maybe three times the size of a lipstick), and you can regulate their heat (to a degree), making it possible to cook slightly more sophisticated fare. Your pot or pan sits atop the stove. Type 2: the JetBoil. Again, others make this type of stove, but it’s the mostly commonly known. Advantage: it boils water fast. Meaning you can have that first cup of coffee within five minutes of waking, boiling and steeping time included. Disadvantage: It mainly just boils water fast, a good option if you stick with dehydrated foods.
For a suggestion, go here.
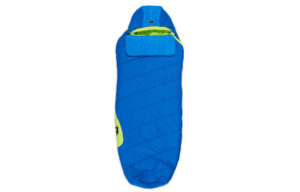
Sleeping bag. To save on expense, and because you likely didn’t see yourself camping out in cold weather, you likely started with an inexpensive bag rated to 40 degrees or so. Maybe you still don’t see yourself on Arctic expeditions, but a trip in November or late February holds some attraction. If that’s the case, you’ll want a bag rated to 20 degrees F. (FYI, that rating doesn’t necessarily refer to comfort, it generally refers to survival.) The good news on this front is that a cold weather bag no longer means a bag with no room in which to wiggle about. Hourglass-shaped bags let you change position throughout the night and stay warm and in the same place in your tent, to boot.
For a suggestion, go here.
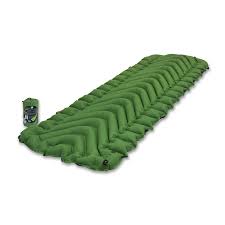
Sleeping pad. Perhaps the biggest advance in backpacking gear in the past few years has been in sleeping pads. Not long ago, we were stuck with thin pads with minimal padding. No more. A wide range of featherweight, inflatable pads has popped up that make even long winter nights in your bag tolerable. Some can be pricey — it’s possible to spend upwards of $200 — but you can also get a great pad for under $100, which, for a good night’s sleep, is a bargain. Test drive before you buy: come into the store, toss one on the floor, have a lay-down. One caveat: One or two tend to be a bit noisy; roll around, see if it sounds like you’re sleeping on a bag of chips. If so, demur on that pad; your fellow backpackers will be most grateful.
For a suggestion, go here.